Bootstrap Checkbox Button
Intro
In some cases the simplest items might become quite critical-- especially when you get to need them. As an example exactly how do your website visitors communicate with the web pages you create claiming a basic Boolean action-- just yes or no relating to some of the issues you want to ask, exactly how they do accept the conditions and terms or else line up a few of the practical preferences they might possess. We typically get past this without paying a lot of an care to the element accountable for such activities still, the Bootstrap Checkbox Field is actually a very significant feature-- one our forms can't really complete without.
Inside the most updated fourth version of the Bootstrap platform we are presented with the
.form-check.form-check-label<div>.form-check.form-check-label<label><input>.form-check-inputHow to apply the Bootstrap checkbox:
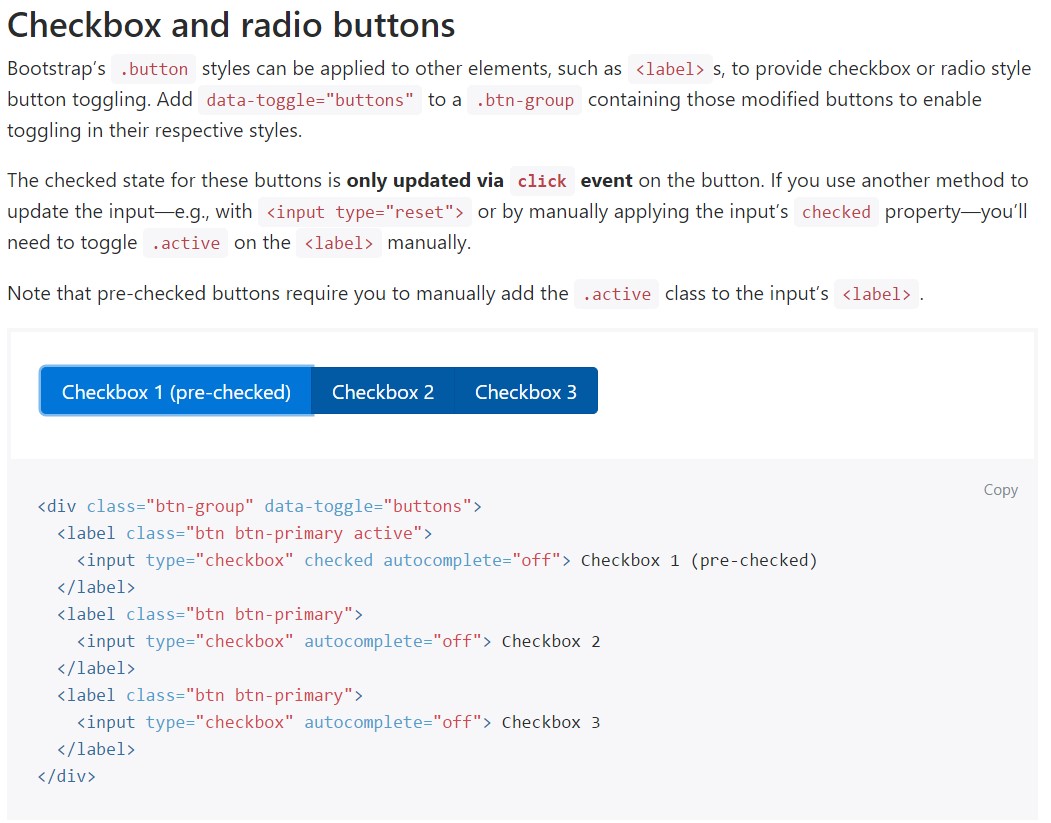
The reviewed status for these types of buttons is only improved through click event on the button. If you put into action another option to modify the input-- e.g., with
<input type="reset">.active<label>
<div class="btn-group" data-toggle="buttons">
  <label class="btn btn-primary active">
    <input type="checkbox" checked autocomplete="off"> Checkbox 1 (pre-checked)
  </label>
  <label class="btn btn-primary">
    <input type="checkbox" autocomplete="off"> Checkbox 2
  </label>
  <label class="btn btn-primary">
    <input type="checkbox" autocomplete="off"> Checkbox 3
  </label>
</div>
Sometimes we really need the checkboxes to be inside our forms without the customer actually being able to have any sort of practice selecting them-- that's where the disabled option appears.
To disable correctly a checkbox in Bootstrap 4 applying the common HTML attribute
disabledIn case that you appreciate the idea and indeed desire to carry this out you have to assign the
.disabled.form-checkSome other situation
When applying checkboxes, wrap all of them in a
<label>.custom-control.custom-checkboxWork with
.custom-control-input<input>Additionally employ two
<span>.custom-control-indicator.custom-control-description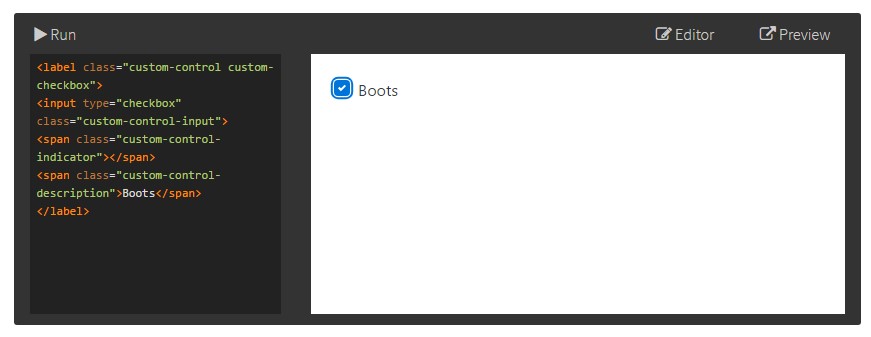
<label class="custom-control custom-checkbox">
<input type="checkbox" class="custom-control-input">
<span class="custom-control-indicator"></span>
<span class="custom-control-description">Boots</span>
</label>
Bootstrap Checkbox Design forms
Default checkboxes and radios are developed upon with the help of
.form-checkDisabled checkboxes and radios are assisted, however, to deliver a
not-allowed<label>.disabled.form-checkA brand new thing for the Bootstrap edition 4 system is the release of the so called custom made form features. These are the very same features we are known in practicality though styled even more pleasing and also in the Bootstrap means. Having them you are able to bring in amazing taste as well as style to your material via just appointing a handful of additional classes to the controls you include in your forms.
For you to utilize custom made checkboxes wrap them in a
<label>.custom-control.custom-checkbox<input>.custom-control-input<span>.custom-control-indicator.custom-control-descriptionFinal thoughts
That's essentially everything you need to produce in order to add a checkbox element inside of your Bootstrap 4 powered web site and incorporate certain customized flavor to it providing it a fantastic looks. Currently all you need to do is repeat the exercise till you have actually inspected all the checkboxes desired are currently on the page.
Look at a couple of youtube video short training relating to Bootstrap checkbox
Connected topics:
Bootstrap checkbox formal documentation
Centering checkbox buttons in Bootstrap 4 row

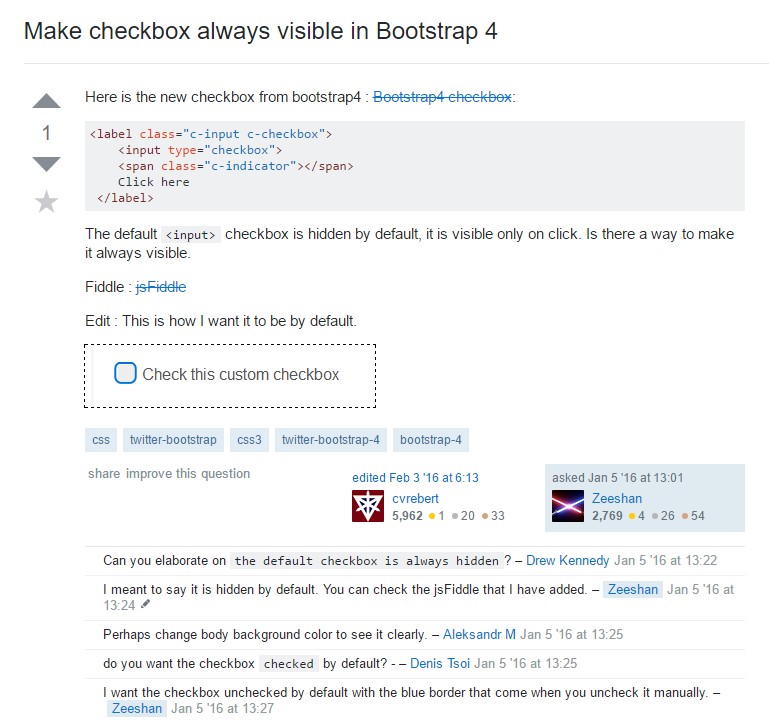
Make checkbox always visible in Bootstrap 4